
Lighthouses of Wales
Nash Point
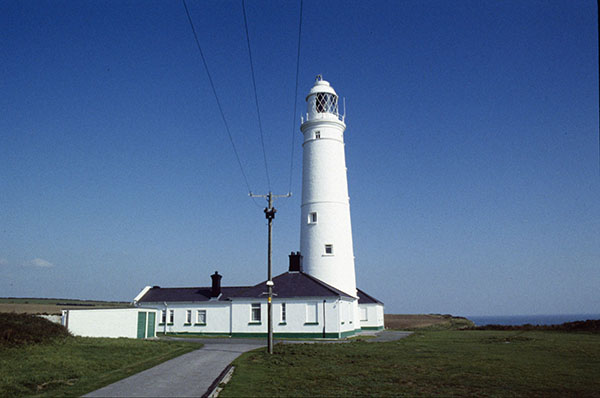
(Photo: Ken Trethewey, 1996)
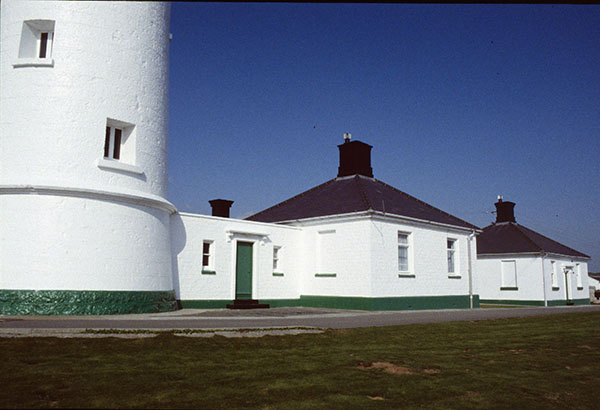
The entrance to the active tower. (Photo: Ken Trethewey, 1996)
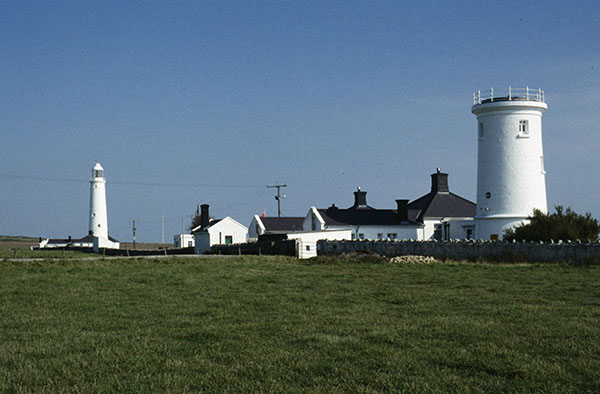
The two towers. (Photo: Ken Trethewey, 1996)
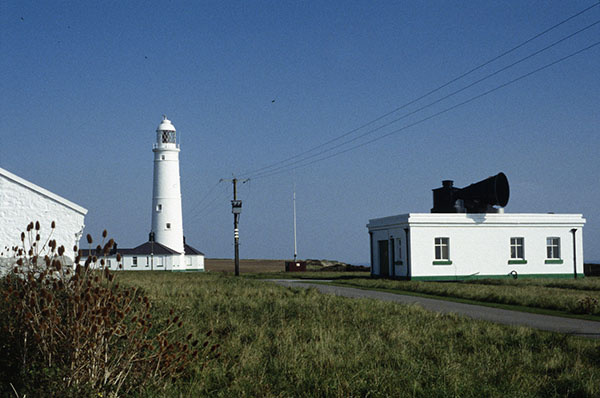
The active tower and fog signal. (Photo: Ken Trethewey, 1996)
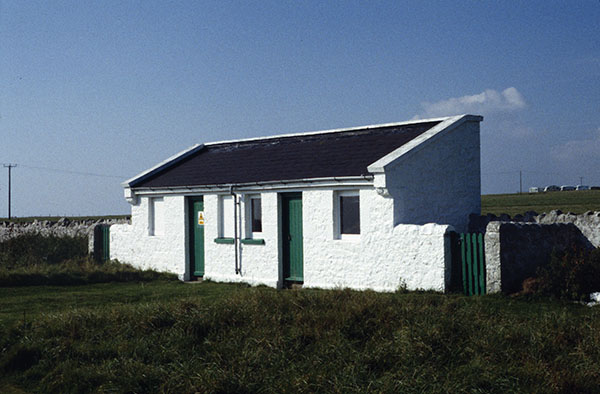
An outbuilding. (Photo: Ken Trethewey, 1996)
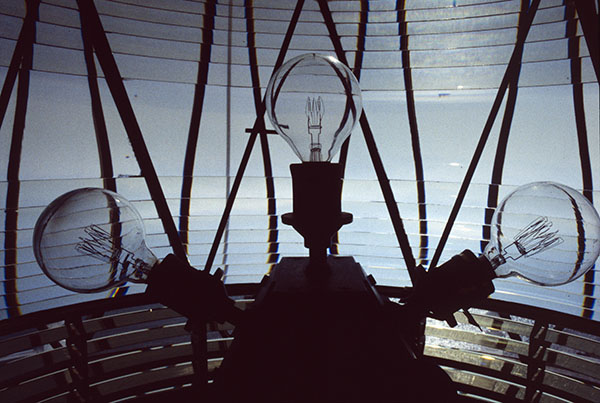
Inside the optic, showing the lamp changer with three tungsten filament bulbs. (Photo: Ken Trethewey, 1996)
Inside the optic, showing the lamp changer with three tungsten filament bulbs. (Photo: Ken Trethewey, 1996)
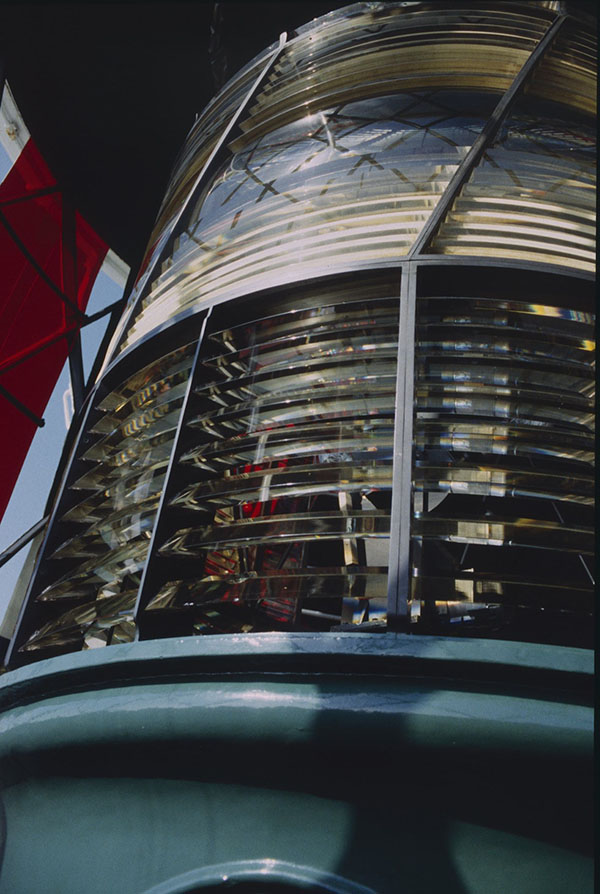
Close-up of the beehive optic. (Photo: Ken Trethewey, 1996)
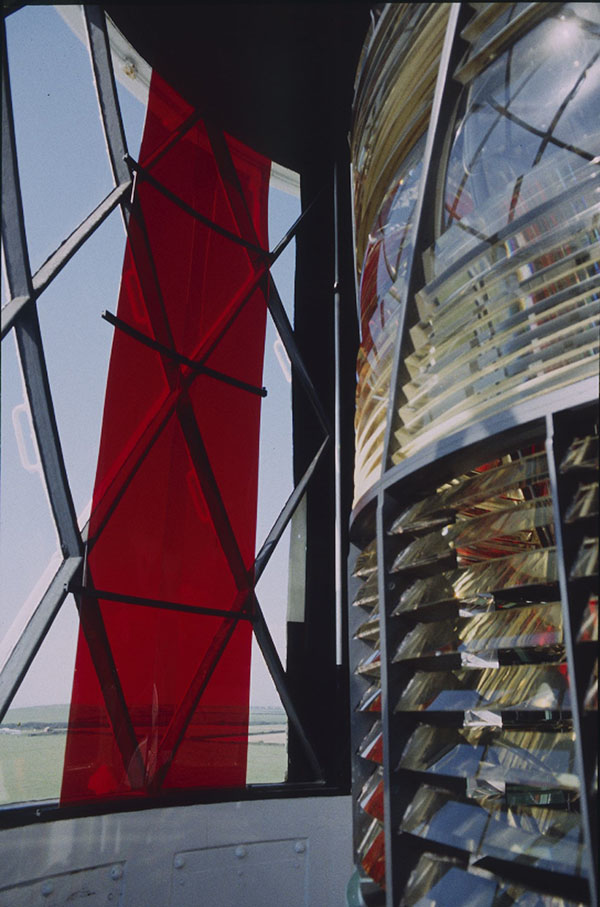
The beehive optic and red sector. (Photo: Ken Trethewey, 1996)

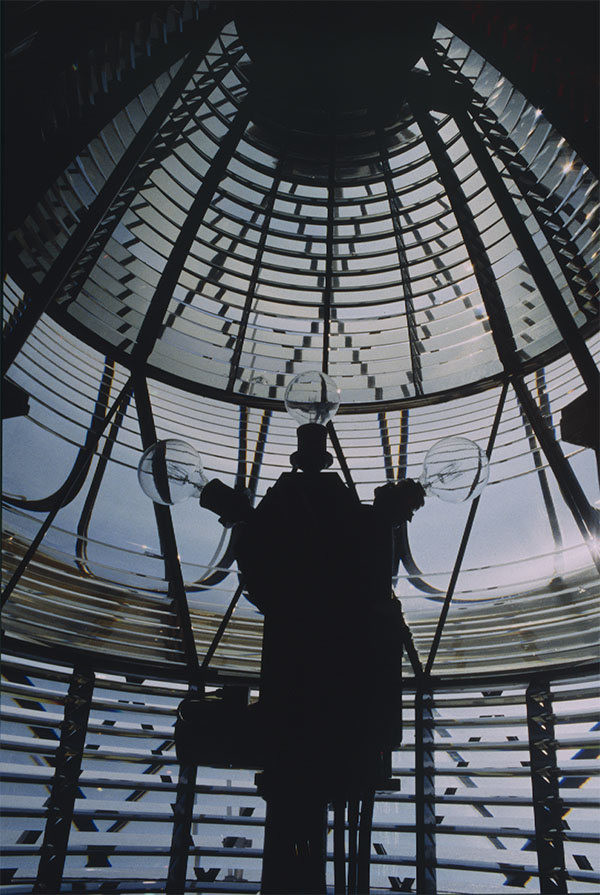
View inside the beehive optic. (Photo: Ken Trethewey, 1996)
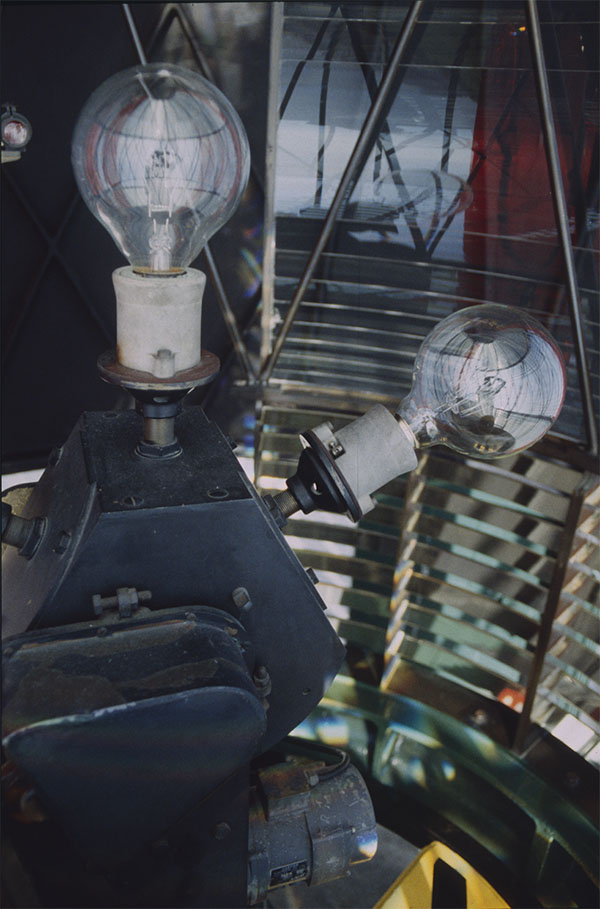
Two of the three tungsten filament bulbs on the lamp changer. (Photo: Ken Trethewey, 1996)
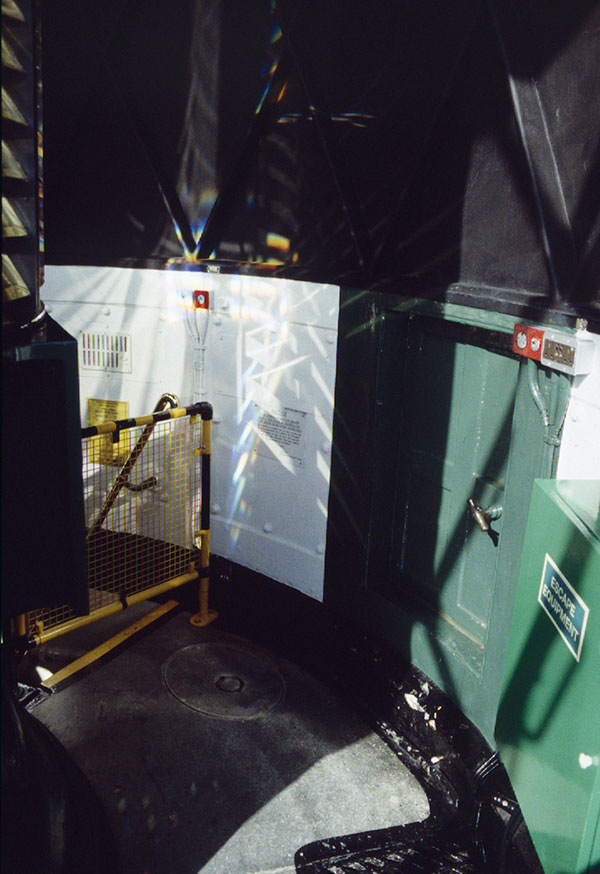
The door to the gallery. (Photo: Ken Trethewey, 1996)
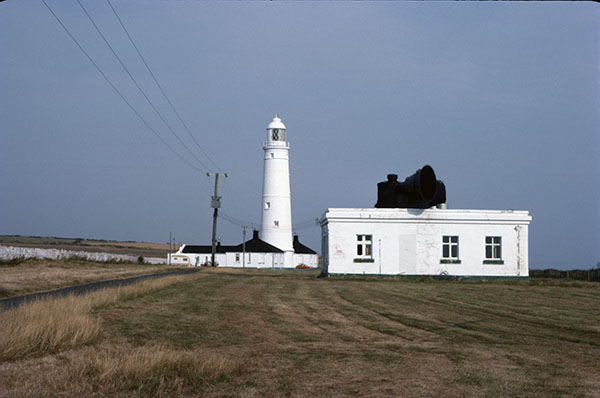
The active tower and fog signal. (Photo: Jim Garbutt, 1977)
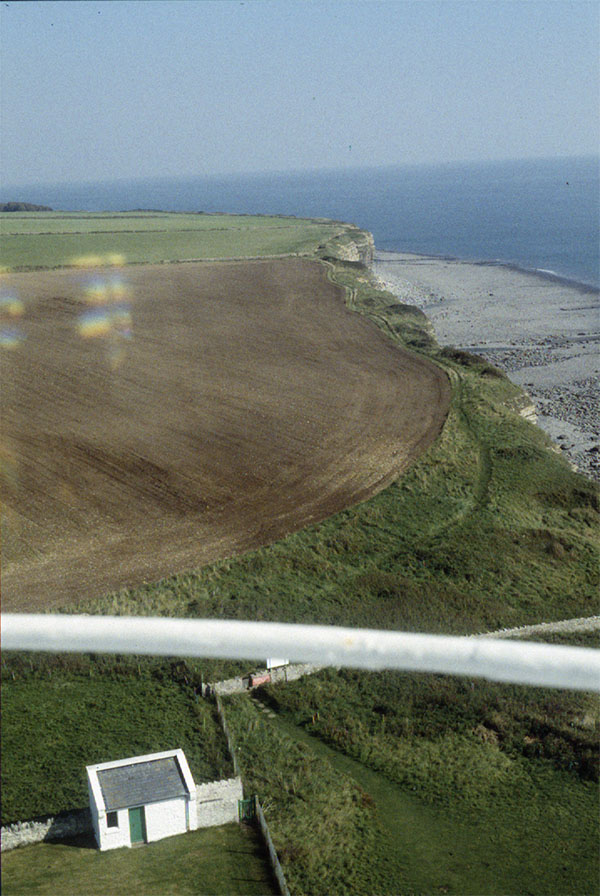
A view from the lantern. (Photo: Ken Trethewey, 1996)